After installing and opening Autocad, you will see a welcome window on the screen, click to close this window to open the Autocad interface window. Refer to the following article of Emergenceingames.com to find out Interface and manipulation in Autocad drawing environment how.
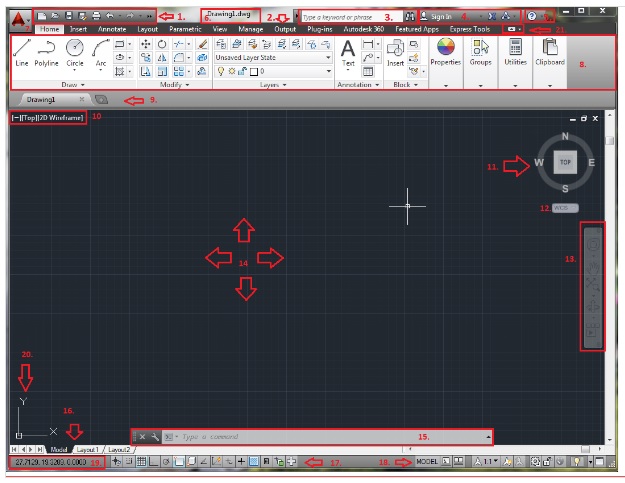
Interface and manipulation in Autocad drawing environment
1. Quick Access Toolbar
The window above is not maximized (Maximize), so you cannot find the Quick Access Toolbar(QAT) and the Workspace tab. If you can’t find the Quick Access Toolbar (QAT) and the Workspace tab, click the Maximize tab.
By default, this window includes tabs like New, Open, Save, Save All, Plot, Undo and Redo. To customize the QAT, click on the tab next to the Workspace list.
Customize Quick Access Toolbar window:
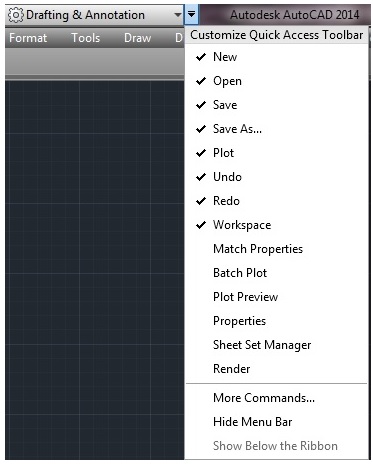
Also, if you want, you can right-click on the Ribbon tab and add any tab to the QAT.
2. Tab Ribbon
Under QAT you will see all the Ribbon tabs available in this WorkSpace. The default WorkSpace is Drafting and Annotation.
Different Ribbon tabs provide different Ribbon panels, depending on your work.
3. Search (search)
You can search for any command or information by entering keywords or phrases into the search box.
4. External Link
This is also the information center associated with AutoCAD 360.
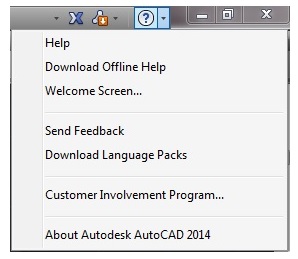
5. Tab Help (help)
The Help tabs link to the help file where you can search for help content and other information. If you want you can change the welcome screen settings here.
6. Title Bar (title bar)
Here will display the name of the drawing file you are opening.
7. Application menu button (Autocad Logo)
The Autocad application menu provides various options along with the default QAT options.
8. Ribbon
This is the main area on the Toolbar, where you can find all the tabs in tabular format, organized by use. The Ribbon includes the panel. Some panels are linked with dialog boxes that can be used by clicking the arrow tab in the bottom right corner of the table.
9. File Tab
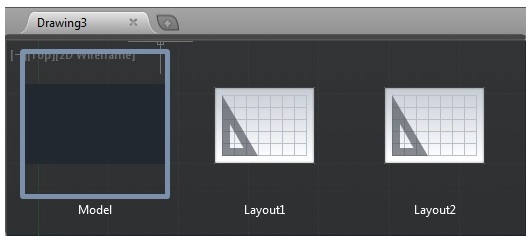
To add a new drawing file, click the . icon [+] on the File tab or if you want to switch between the Model and Layout tabs, just hover over the File tab, on the screen will display a preview window, select the Layout tab.
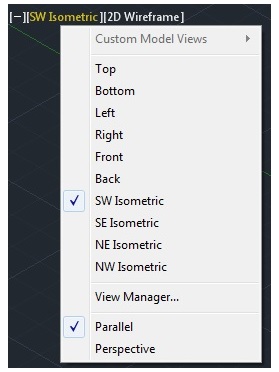
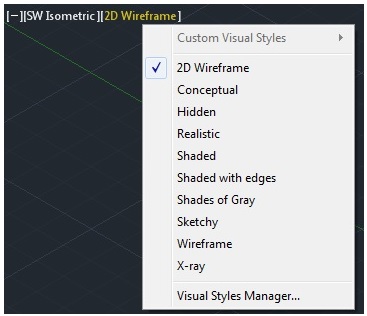
10. Viewport Control
This is the viewport console where you can change the Autocad and Visual Styles views to different options.
11. View Cube
Through the Cube view, you can see the various drawing elements, including the viewport and rotation mode.
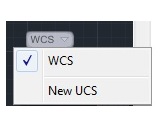
12. WCS
Under View Cube, you can choose WCS or create a new Co-coordinating system.
13. Navigation bar
The navigation bar allows you to locate the other end of the Autocad window, and also contains some additional tools such as Pan.
14. Drawing area / graphics area
This is the main area of the Model, where you create new drawing elements.
15. Command line
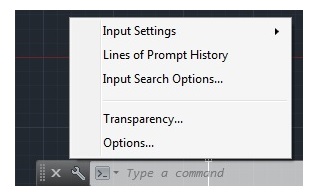
Also to use Autocad features we can run commands from command line utility. This command-line installation option looks like this:
16. Model and Tab Layout
This tab is used for the Model and Layout tabs. You can create Layout rename and delete tabs here. Also you can hide the Model and Layout tabs on the status bar by right-clicking, selecting the option to hide.
17. Drawing settings
This is the application Station bar, which includes various settings. You can toggle these icons on and off.
18. Additional Settings
These settings include Model, caption, and some additional settings. The settings are available on the Drawing window.
19. Drawing coordinates
Displays the current position of the mouse pointer in drawing coordinates.
20. Coordinates
These are the drawing coordinates.
21. Ribbon View
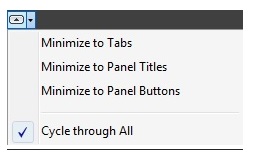
You can change the Ribbon to minimize tabs, panel titles, panel buttons, ….
https://thuthuat.Emergenceingames.com/bai-1-Giao-dien-va-thao-tac-trong-moi-truong-ve-autocad-48394n.aspx
The lesson above Emergenceingames.com has just introduced you to the interface and operation in the Autocad drawing environment. In the next lessons Emergenceingames.com will introduce you to Lesson 2: Important settings before drawing Autocad Please.
Related keywords:
Interface and manipulation in Autocad drawing environment
Autocad interface, Autocad,
Source link: Lesson 1 – Interface and operation in Autocad drawing environment
– Emergenceingames.com


