If Photoshop software requires users to have a lot of knowledge to edit perfect photos, Photoinstrument is the opposite. Using this utility even if you have no knowledge in photo editing, you can still do it.

What are the benefits of installing Photoinstrument?
– Turn your face into a flawless face.
– Edit body shape easily.
– Provide many unique visual effects.
– Save images in multiple formats.
– Compatible with famous photo editing software Adobe Photoshop
System Requirements
Install Photoinstrument on computers using all versions of Windows operating systems such as Windows XP, Windows Vista or Windows 7/8.
Instructions for installing Photoinstrument
Step 1: Open the folder where the Photoinstrument installation file is saved as a name photoinstrument.exe. Or if your computer does not have an installer, you can download the latest version of Photoinstrument here: Download Photoinstrument
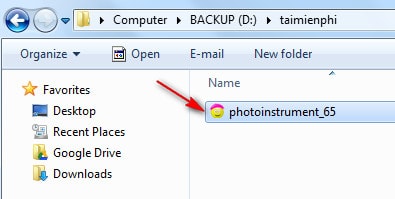
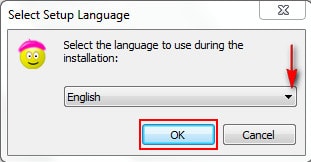
Step 2: Select the language for the utility to use later, click OK
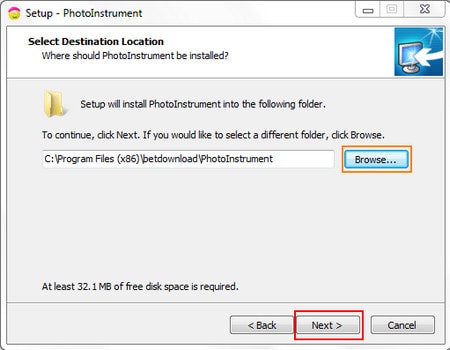
Step 3: Click nexta dialog box appears that allows you to change the path containing the installation program by clicking Browse, or you can use the factory default path, usually the drive C:.
Click next to continue
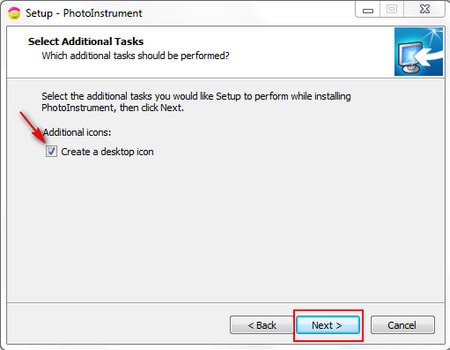
Step 4: Click next After agreeing to the folder containing the installation file, select Create a desktop icon in the next dialog if you want to make the widget’s icon set on the desktop Desktop.
Click next
Step 5: A dialog box is displayed for you to review the parameters you have just set. Click Install for the Photoinstrument installation to begin.
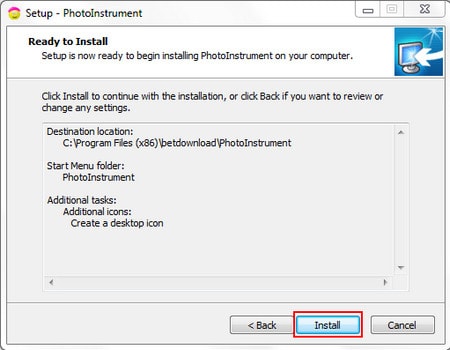
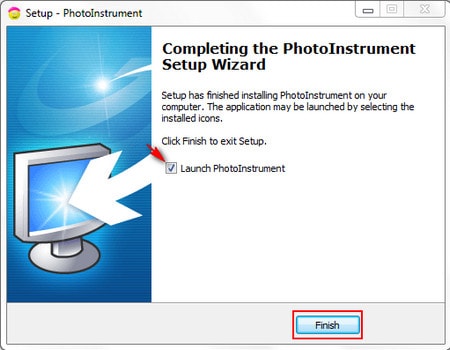
Step 6: It takes a certain amount of time for the installation of Photoinstrument to finish. Click Launch Photoinstrument if you want to start the program immediately after closing this dialog box.
Click finish to finish the installation.
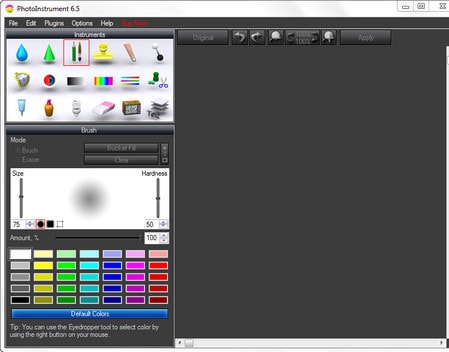
After installing Photoinstrument is complete, the utility has the interface as shown below.
Instructions for using Photoinstrument to edit photos
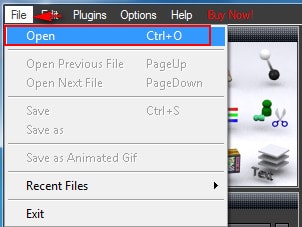
Step 1: Open the image you need to edit, by clicking File -> Openor use the key combination Ctrl + O
This is the photo that Emergenceingames.com uses to guide you

Step 2: First, to lift the nose, enlarge the eyes or make this girl’s lips plump, use the tool Liquify. At this tool, in the Deform Mode select mode Movere-size the tool if desired.
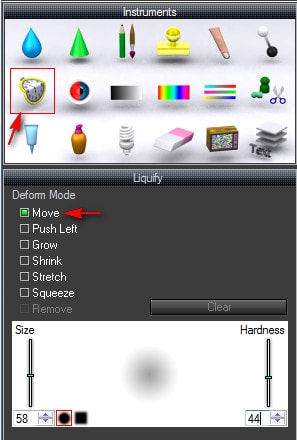
Click Original to review the results.

Step 3: To remove facial imperfections such as acne marks, fast freckles in this photo, use the tool Skin Cleaner
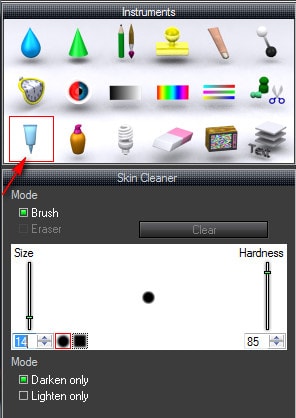
Photo after the defect has been removed
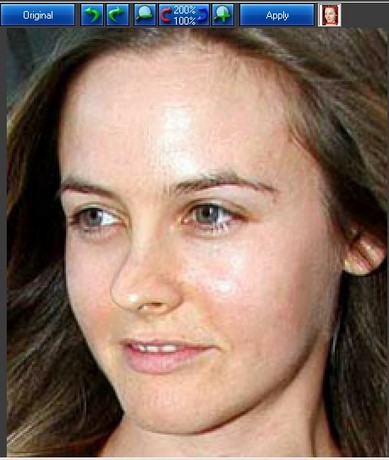
Step 4: Smooth skin, use tool Glamor Skinadjust the size and parameters accordingly.
Hold the mouse and move to the entire skin to be smoothed.
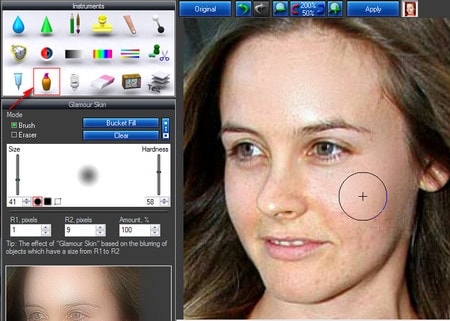
Photo after the skin has been smoothed
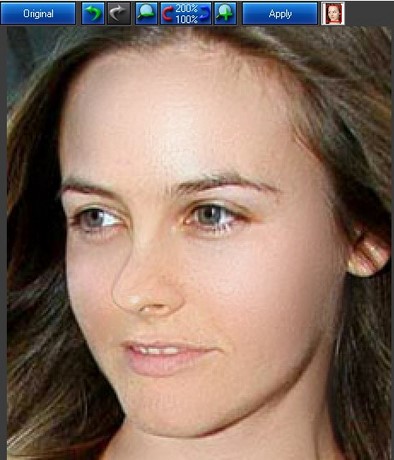
Done, you can now compare the original photo with the finished image to see if there is any difference.
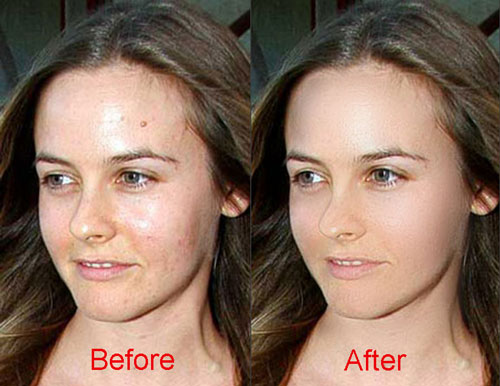
So after just a few simple steps, you have successfully installed Photoinstrument. Using Photoinstrument on your computer makes it easier to edit photos without having to spend too much time and money to attend classes that teach photo editing with Adobe Photoshop software.
Currently, VSCO is one of the best online photo editing services, it doesn’t take much time to install, editing photos with VSCO will help you get a beautiful photo immediately. must apply many other superior knowledge.
Related keywords:
install Photoinstrument
install Photoinstrument, guide to install Photoinstrument,
Source link: Use Photoinstrument to edit digital photos
– Emergenceingames.com
