Photoshop is the master of creating effects for photos, we can easily see these effects on movie posters today. And to achieve that, we have to start from easy things like how to create a beam effect in Photoshop in this article.

Instructions for creating a light beam effect in Photoshop
– To ensure your creations are absolutely accurate with Emergenceingames.com’s instructions when done in Photoshop. We recommend readers to use the latest version of Photoshop, download Photoshop here.
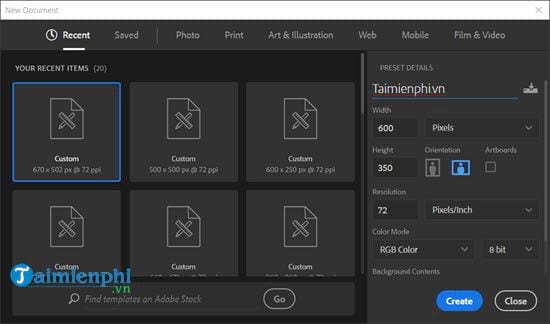
Step 1: The first step is the same as always, create a new file of any resolution, and remember how the aspect ratio when creating a beam effect in Photoshop will also be different. If you want exactly like the instructions, choose 600 x 350.
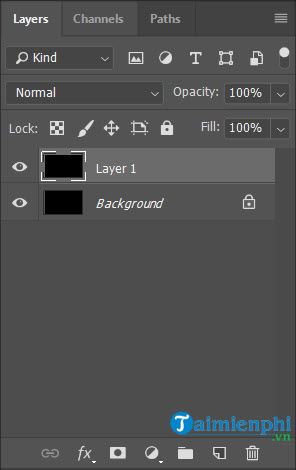
Step 2: Fill this layer with black if it’s not the default and duplicate it by Ctrl + J . key combination.
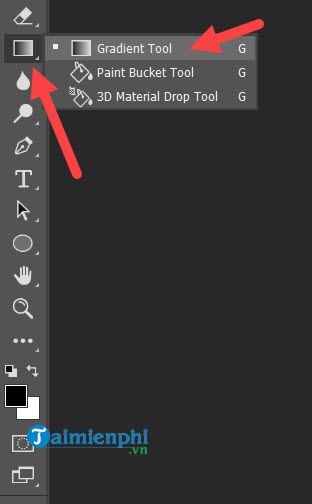
Step 3: Next we will use the tool Gradient Tool by clicking on the icon as shown in the picture or using WOOD keyboard shortcuts.
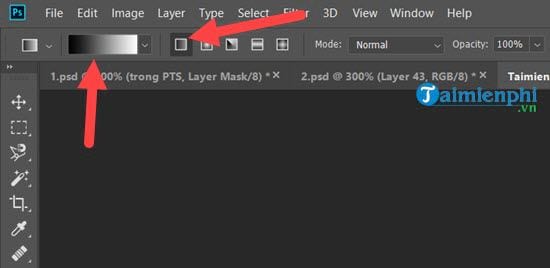
Step 4: Choose the default color as shown in the picture with the first fill style, make sure all parameters are absolutely correct.
Step 5: Then you come back in Layershold Shift then drag a segment from the bottom up above as shown to fill the Gradient color.
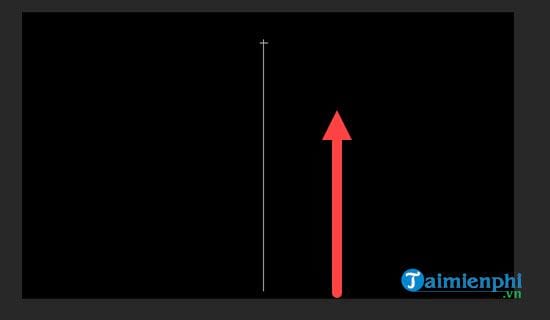
The result after pouring the color will be as below, if you make a mistake you can redo it. There’s no need to over-exact this step.

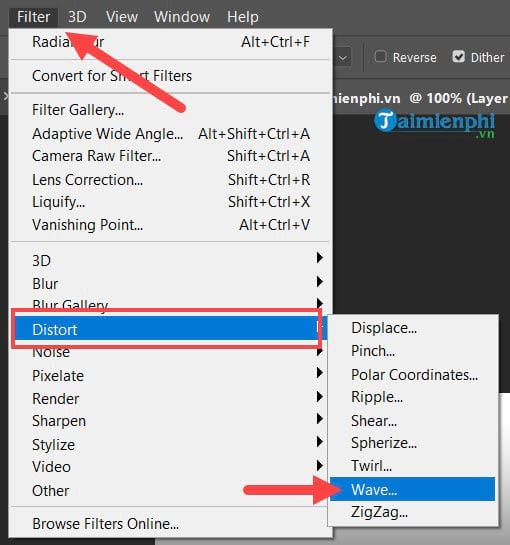
Step 6: Next go to the filter Filter > choose Distort > choose next Wave.
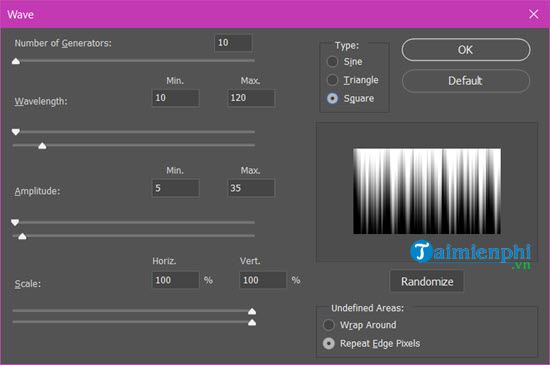
In Wave, adjust the following parameters:
* Number of Generators: ten.
* Wavelength: Min is 10 and Max is 120.
* Amplitude: Min is 5 and Max is 35.
* Scale: 100% for both.
* Type: Square.
* Underfined Areas: Select Repeat Edge Pixels.
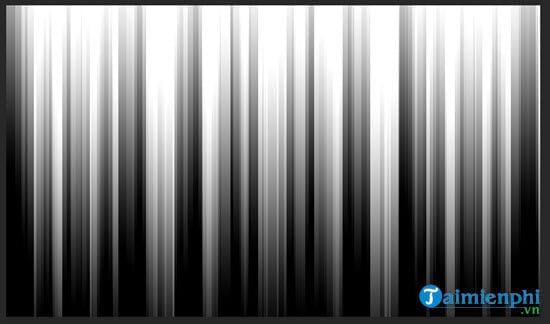
>> the result of the above steps will be as below.
Step 7: Go to the filter again Filter > choose Distort > choose next Polar Coordinates.
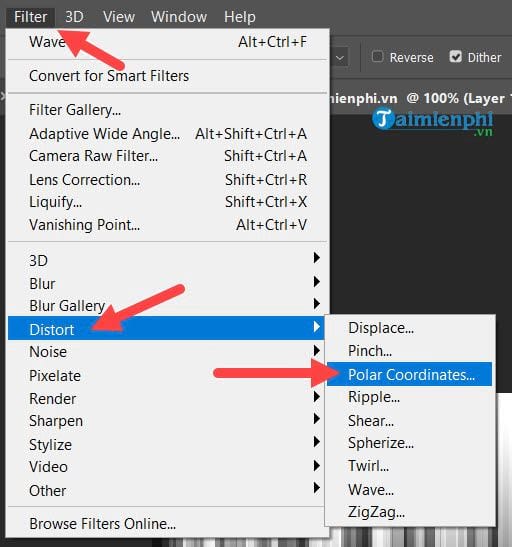
In this you just need to Rectangular to Polar is okay.
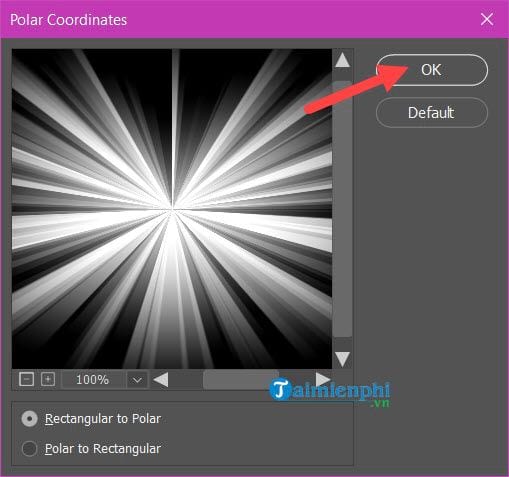
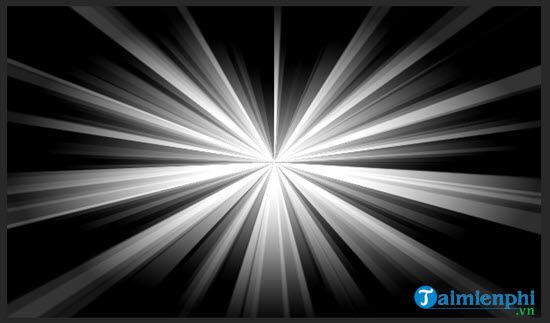
>> And the result will look like this, we are almost done creating the beam effect in Photoshop.
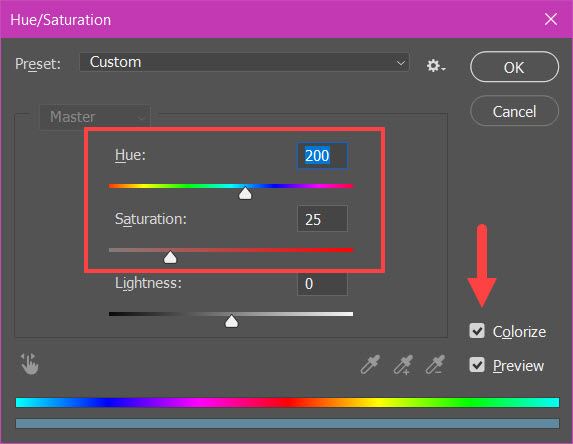
Step 8: Press Ctrl + U . key combination and accumulate Colorizehere you edit HUE 200 and Saturation is 25.
>> The result will be as follows.
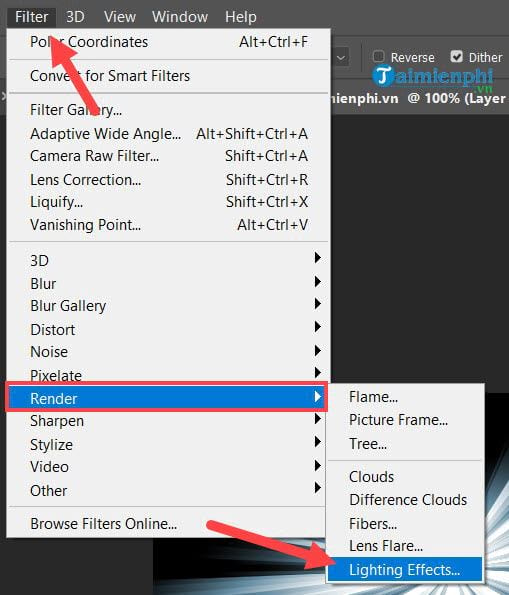
Step 9: Go to the filter again Filter > Select Render > choose next Lighting Effects to choose the lighting effect.
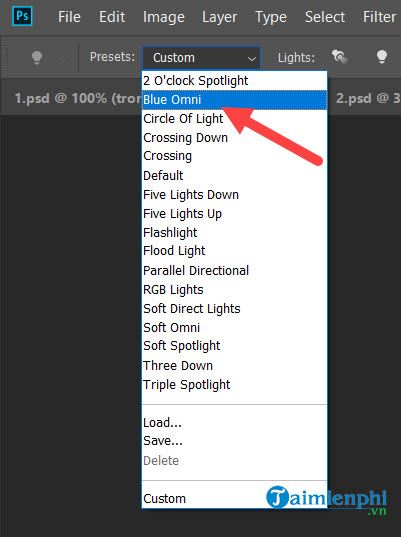
In this you choose Blue Omni in section Preserts.
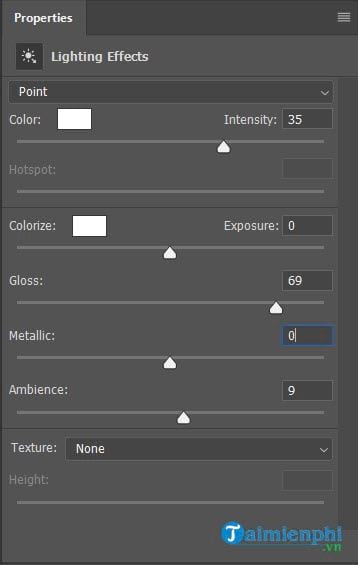
And the parameters of Blue Omni are as follows:
* Color: White with Intensity 35.
* Color: White color with Exposure 0.
* Gloss: 69.
* Metallic: 0.
* Ambience: 9.
* Texture: None.
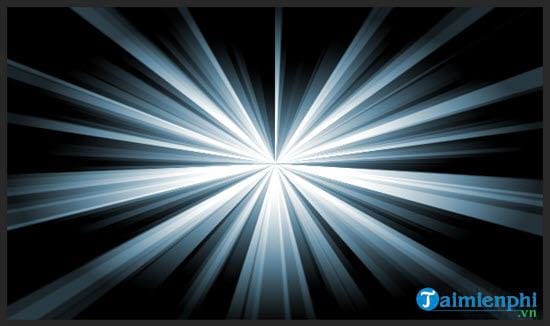
After this step, creating the beam effect in Photoshop is complete, the results you can see right here.
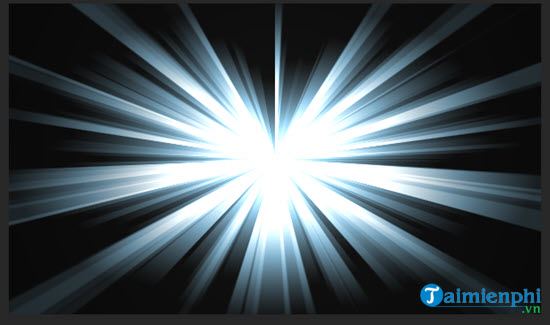
There are many ways to apply the effect after creating a beam effect in Photoshop, try applying it to an image you are familiar with. Maybe the result will be like this.
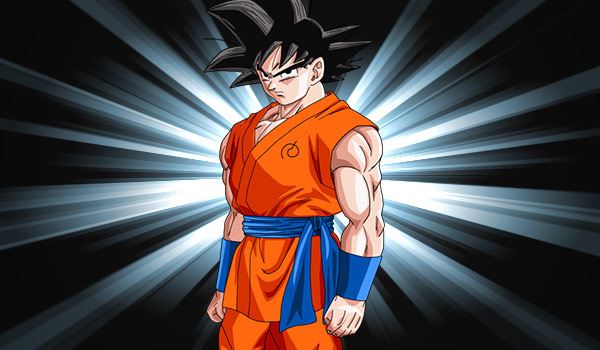
Through the article creating a beam effect in Photoshop, we have learned a lot more about the filters used in the article as well as its uses. With these filters, create your own photos with unique effects. For example, the moving light effect in Photoshop is an example, if curious, why not check it out? make the light effect move in Photoshop it’s like.
https://thuthuat.Emergenceingames.com/huong-dan-tao-hieu-ung-chum-sang-trong-photoshop-34686n.aspx
Or how to create a shadow effect in Photoshop, a basic effect but very useful in photo editing. Way Create a shadow effect in Photoshop not too difficult even for new users.
Related keywords:
I understand it in Photoshop
I understand you in Photoshop, I understand you in Photoshop,
Source link: Tutorial Create a beam effect in Photoshop
– Emergenceingames.com
