You have a pretty selfie photo, but that photo has a lot of people around, how to remove such unwanted objects on the photo. If you use the famous graphics software Adobe Photoshop, you will not know where to start because to do this in Photoshop requires a lot of knowledge.
It’s best to use software that is easy to use like Photoinstrument as an example. In the previous article, Emergenceingames.com showed you how to remove defects on the face, in this article you will know how to use Photoinstrument to remove redundant objects in photos.
Remove redundant objects with Photoinstrument
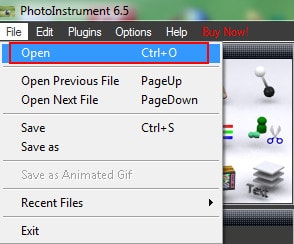
Step 1: Open Photoinstrument and select the photo you want to edit by clicking File -> Open (or use the key combination Ctrl + O).
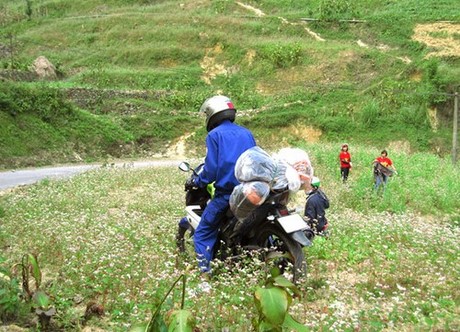
In this article, Emergenceingames.com will use this image.
Step 2: Select tool Object Removalselect style Brush and size Brush optional
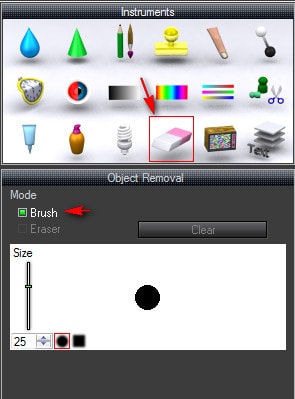
Move to the location of the objects you want to remove from the photo. Release the mouse, the objects will automatically disappear.
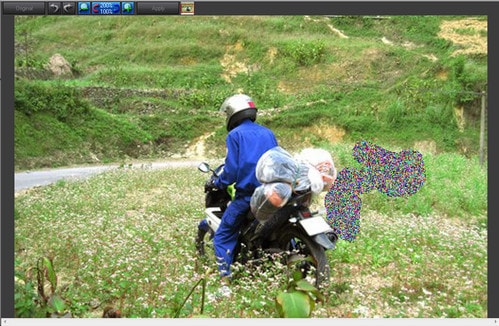
Do the same with other objects you want to remove.
This is the photo after the objects have been removed.
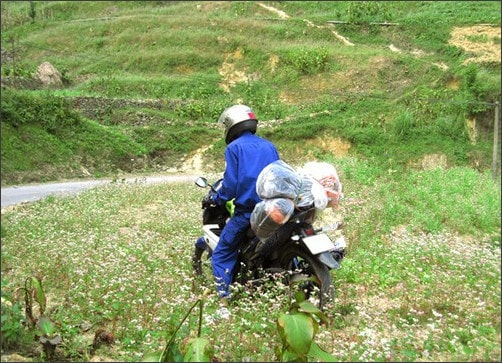
So with just 2 simple steps, you can completely remove unnecessary objects and details on an image, without having to spend time researching how to do the same in Photoshop software. Use Photoinstrument for easy photo editing.
Related keywords:
remove redundant objects in the image
how to remove redundant objects in photos, remove redundant objects in photos with Photoinstrument,
Source link: Photoinstrument – Remove redundant objects in photos
– Emergenceingames.com
