By warp, bend text in Adobe Illustrator to create and highlight the image. Please refer to the following article of Emergenceingames.com to learn how to Warp and bend text in Adobe Illustrator.
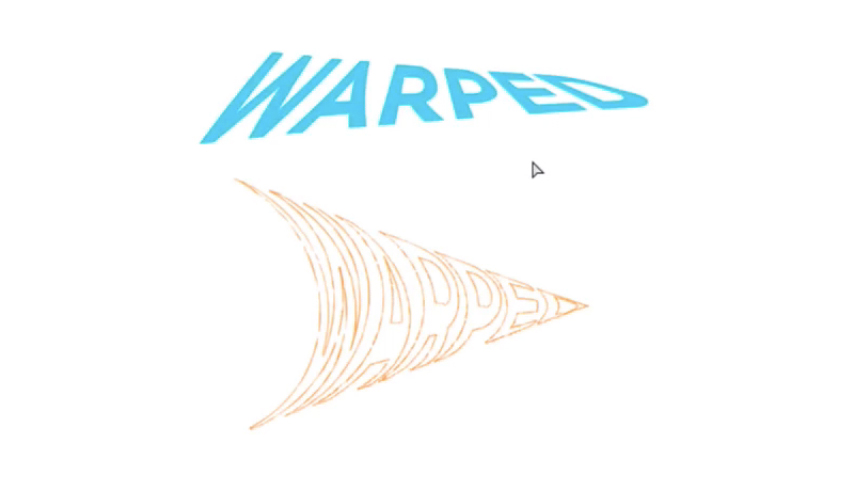
How to Warp, Curve Text in Adobe Illustrator
Follow the steps below to warp, bend text in Adobe Illustrator:
1. Enter text to Warp, bend
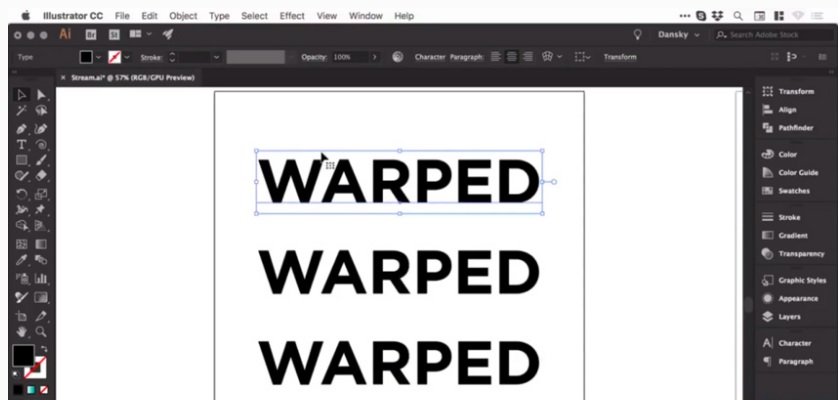
First use the Type tool, left-click anywhere on the artboard and enter text there. In this example Emergenceingames.com enter the text “WARPED”. Then access the Character panel in the top corner and choose a font to use, such as the Gotham Bold font.
Next, access the alignment options and select Align Center to center it. Then make some copies by pressing and holding the . key Alt+Shift and pull. The screen will now look like this:
2. Create a Bend Effect (Bulge)
Select the first piece of text, then go to Object =>Envelope Distort =>Make with Warp. Next, tick and select the option Previewif you want, you can tick Style.
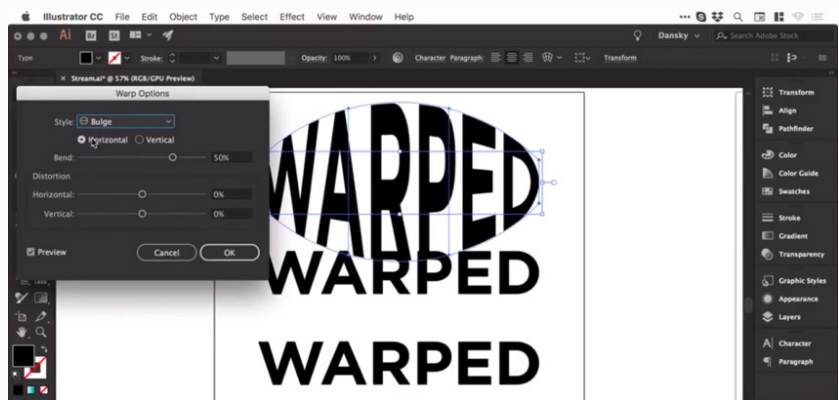
In this tutorial we bend the text horizontally, so we can adjust the Bend slider. If you increase it by a few percentage points, the text will swell, and vice versa, if you decrease it, the text will shrink.
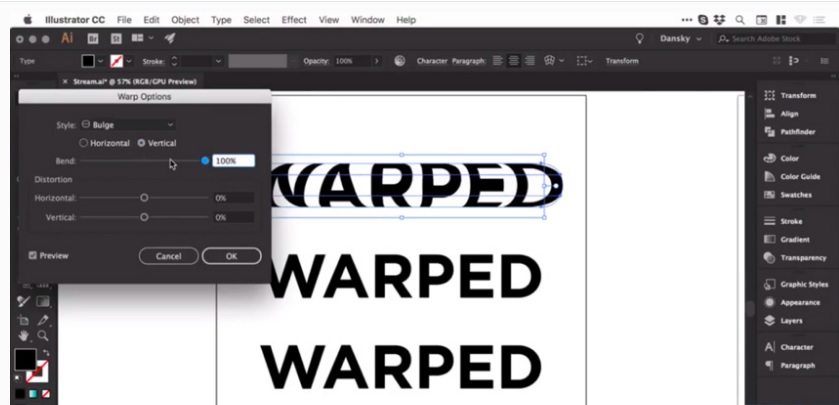
In addition, if you want, you can also bend the text vertically.
3. Add Distortion
To distort, distort both horizontally and vertically we can use sliders. To make one side appear larger, drag the Horizontal Distortion slider down to -100.
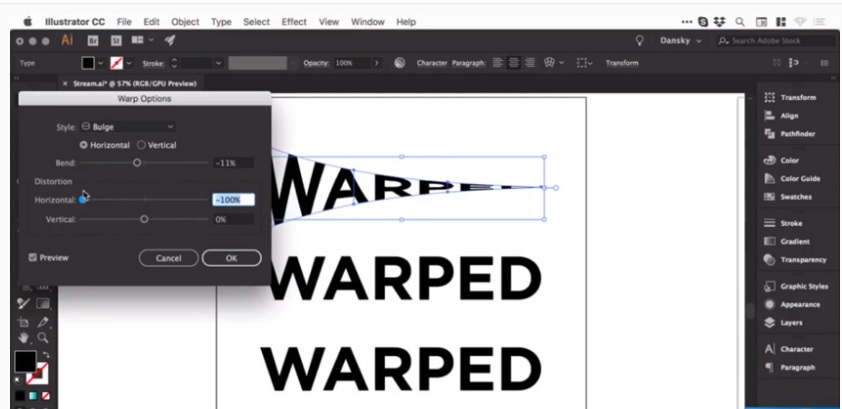
Enter the values below:
– Horizontal Bend: -2%
– Horizontal Distortion: -54%
– Vertical Distortion: 25%
Then click OK, you will now see the text has been deformed.
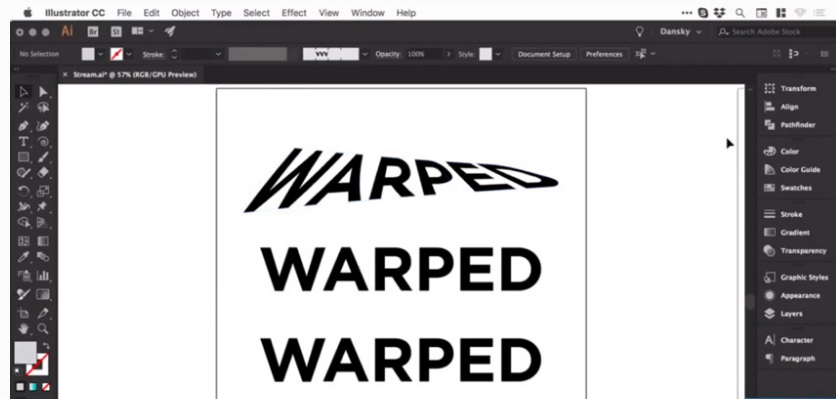
4. Adjusting the Bulge . Effect
Press Command + Y to go into Outline mode, it still has a frame and surrounding lines, and you can’t change the color or anything.
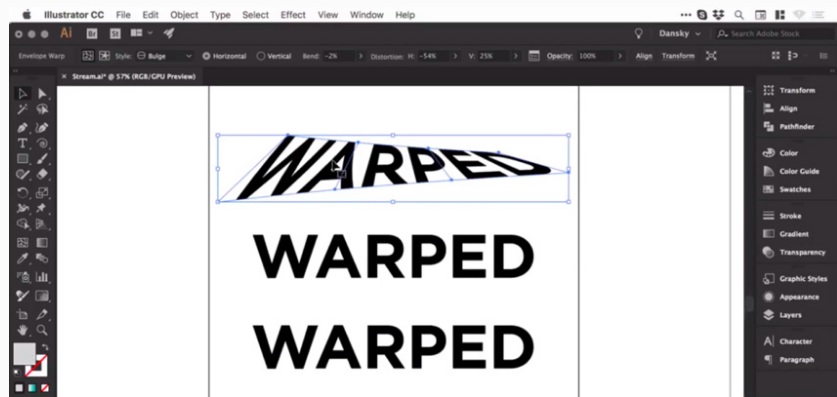
Next step access Object =>Expand. Keep stable Object andah Fill selected, then click OK and switch to Outline Mode again to view the text.
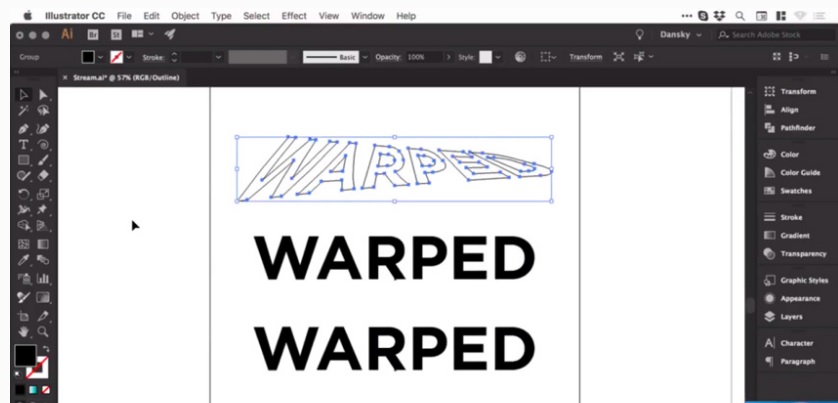
Note, when you scale anything in Illustrator, essentially what you see becomes the path of the shape. So now there are a lot of anchor points created, and we can access and adjust these anchor points if we want to adjust the text shape.
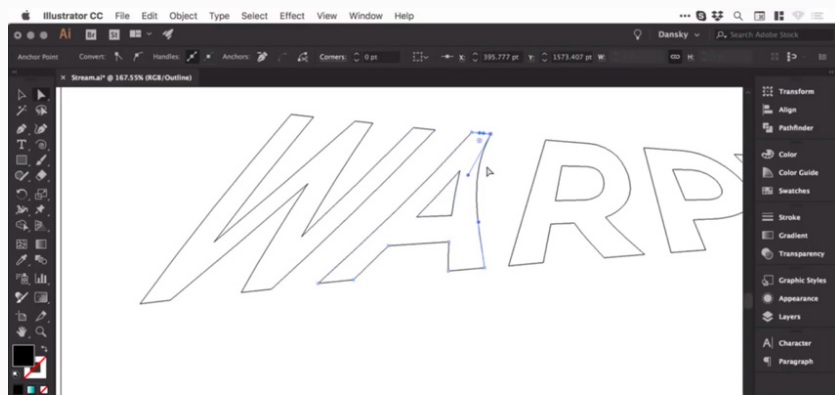
Also if you want you can fill color and change color easily.
5. Create Arc . Effect
Click to select the second text like above, then access Object =>Envelope Distort =>Make with Warp. This time item Style choose is Arc. Item setting Distortion to be 0then can be bent up or down, if you want you can also adjust Bend Fort Vertical .
Try the values below:
– Vertical Bend: -72%
– Horizontal Distortion: -100%
– Vertical Distortion: 0%
Now the text has the form:
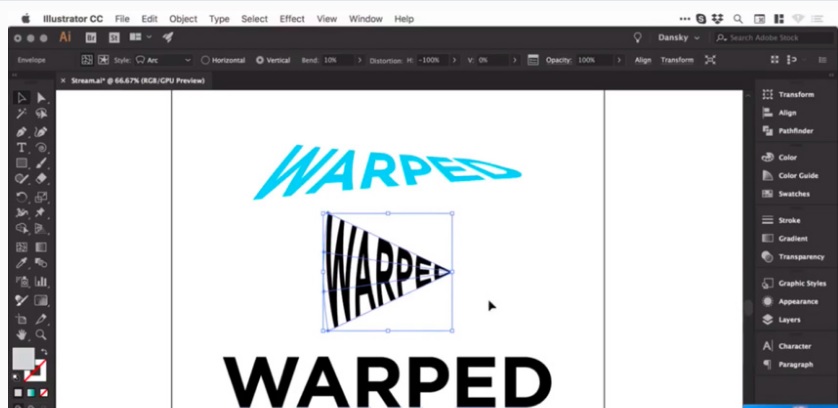
6. Arc . Effect Adjustment
Once you’re satisfied, you can fill colors, add lines, … to the text by accessing Object =>Expand. Keep stable Object and Fill selected, then click OK.
Next step add some brushes. We’ll start by inverting the fill and stroke to get an outline. From the Brushes panel, choose an orange pencil brush.
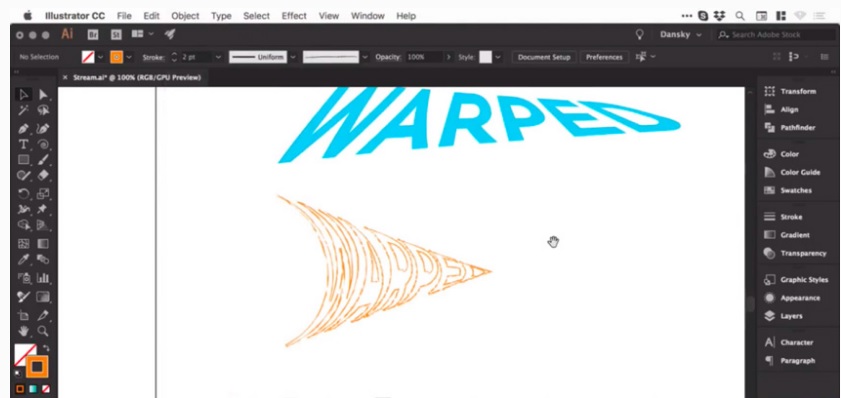
When finished, the text looks like this:
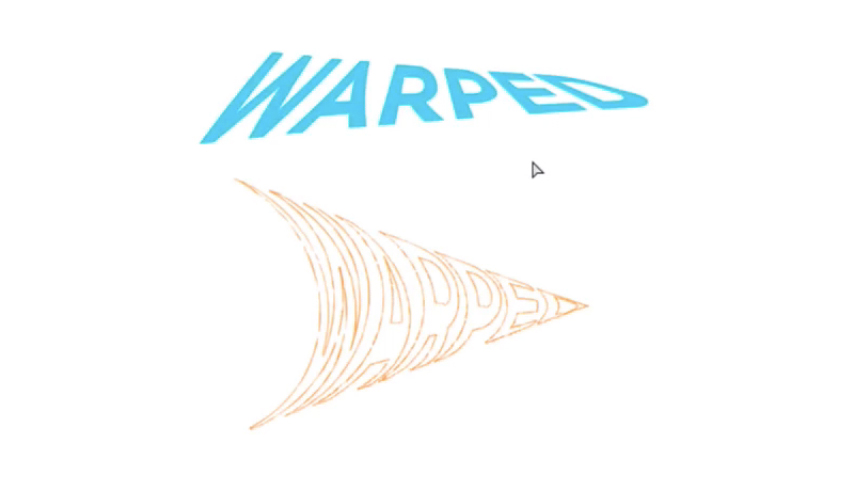
So the above article Emergenceingames.com has just shown you how to Warp, bend text in Adobe Illustrator. Hope the above article has provided you with useful information. In addition, readers can refer to some existing articles on Emergenceingames.com to learn how to Create and edit Gradients in Adobe Illustrator.
Along with the text bending function, the curve drawing function in Illustrator is also exploited by many people to help you create bow-shaped curves for different objects, see the tutorial. draw curves in Illustrator described in detail in our article.
https://thuthuat.Emergenceingames.com/cach-warp-uon-cong-van-ban-trong-adobe-illustrator-44653n.aspx
You can refer to how to convert calligraphy handwriting into Vector in Adobe Illustrator – one of the extremely interesting functions of this software, how convert calligraphy handwriting into Vector in Adobe Illustrator specific instructions on taimienphi.
Related keywords:
How Warp Curves Text in Adobe Illustrator
bend text in Adobe Illustrator, warp text in Adobe Illustrator,
Source link: How to Warp, Curve Text in Adobe Illustrator
– Emergenceingames.com
