You probably already know Web API is Microsoft’s latest technology for building distributed component services. In this article, Emergenceingames.com will introduce you to ASP.NET Core and Angular 4 through WEB API.
ASP.NET Core is a new open source and cross-platform framework for building cloud-based applications, like web apps for mobile, etc. Get acquainted with ASP.NET Core and Angular 4 through WEB API.
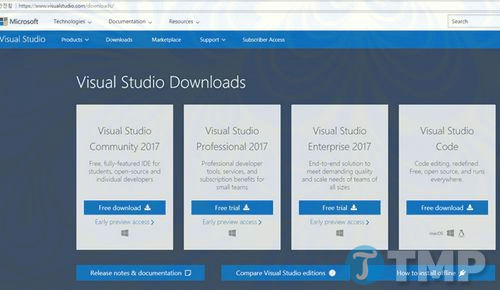
Make sure you have the following software installed on your computer to get the most out of ASP.NET Core.
1. First, download and install Visual Studio 2017 on your computer here: Download Visual Studio 2017
2. Download and install .NET Core 1.0.1 here: Download .NET Core 1.0.1
3. Download and install Node.js v4.0 or higher here: Download Node.js
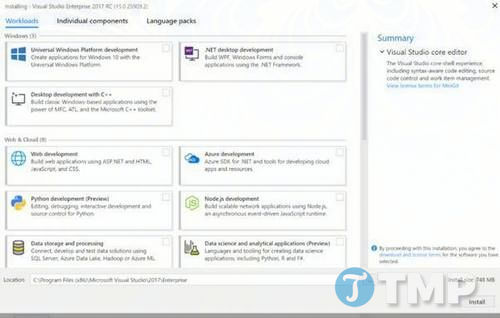
Select the workload depending on your needs and install Visual Studio 2017 on the computer. If you have Visual Studio 2017 installed, you can skip this section.
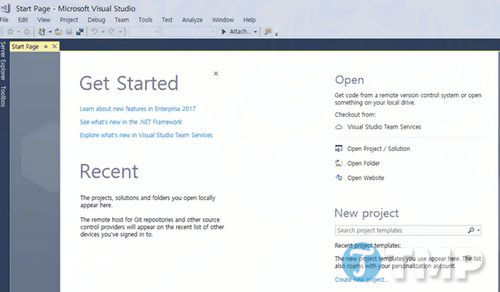
Once installed, you can open Visual Studio 2017 to create ASP.NET Core and Angular v4 applications.
The next step to familiarize yourself with ASP.NET Core and Angular 4 through the WEB API is that you need to create your first projects with ASP.NET Core.
Step 1: Create ASP.NET Core project
After installing the above prerequisites, on your desktop, click Start =>Programs =>Visual Studio 2017 =>Visual Studio 2017.
Click select new =>Project. Select Web =>ASP.NET Core Web Applications. Enter your project name and then click OK.
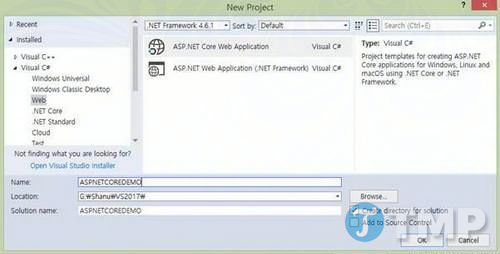
Select Project Empty then click select OK. If installed ASP.NET Core 2.0you can choose ASP.NET Core 2.0.
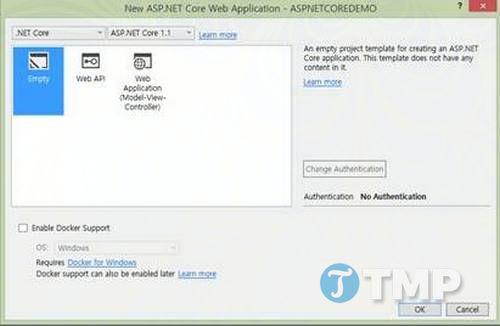
After creating the ASP.NET Core Angular 2 application, wait for a few seconds and you will see the empty project successfully created.
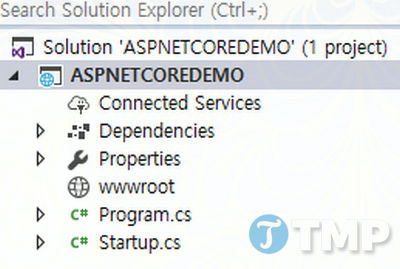
Step 2: Enable MVC and StaticFiles
In the above step you have just created a blank project, the next step to do now is to activate the project to work with the WEB API and run the HTML files. To display Angular results, you need to enable static files.
To do this, right click on the project, select Edit (name of your project).csproj.
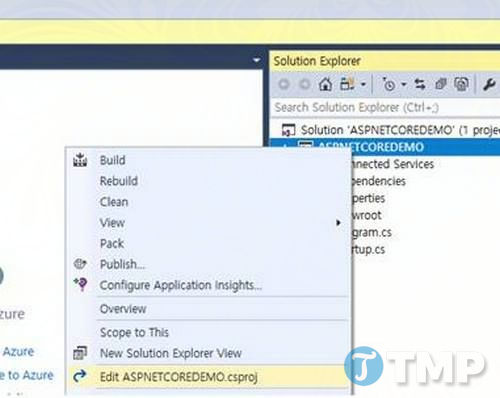
Now you can see the file .csproj is open for editing.
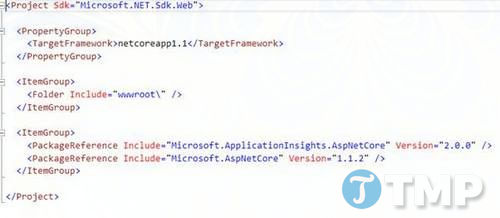
Next add the following 2 code snippets to enable MVC and StaticFile Packages respectively in your project.
The code now looks like this:
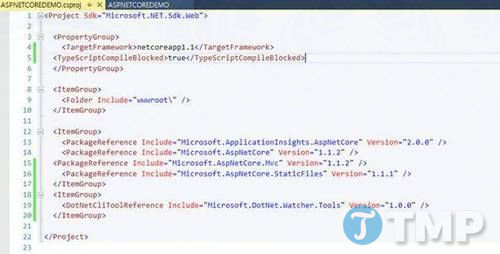
Save the .csproj file. Once done, the dependencies will be installed in your project to work with the Web API.
Step 3: Edit the file Startup.cs
First open the Startup.cs file.
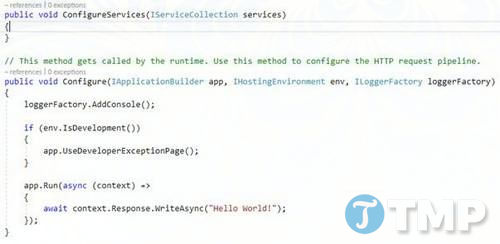
Next in the Startup.cs file, you add the MVC Service. Also set the value as default and open the HTML page like below:
public void ConfigureServices(IServiceCollection services)
{
services.AddMvc();
}
// This method gets called by the runtime. Use this method to configure the HTTP request pipeline.
public void Configure(IApplicationBuilder app, IHostingEnvironment env, ILoggerFactory loggerFactory)
{
app.Use(async (context, next) => {
await next();
if (context.Response.StatusCode == 404 &&
!Path.HasExtension(context.Request.Path.Value) &&
!context.Request.Path.Value.StartsWith(“/api/”))
{
context.Request.Path = “./src/index.html”;
await next();
}
});
app.UseMvcWithDefaultRoute();
app.UseDefaultFiles();
app.UseStaticFiles();
}
Step 4: Create Web API
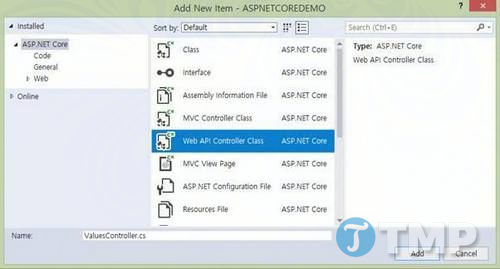
To create WEB API Controller, right click on the project folder, then click Add =>New Item.
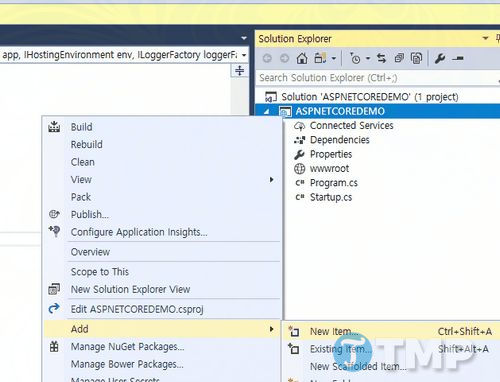
Select ASP.NET Core =>Web API Controller class then click select Add.
As you know Web API is a simple way to build HTTP Services for browsers and mobile phones.
Web API generates the following four methods: Get, Post, Put, and Delete.
– Get is the data request. (Selection)
– Post is to create a data. (insert)
– Put is to update data.
– Delete is to delete data.
In below example use Get method so you can remove all other methods including PUT, POST, and Delete in Controller class and in Get method return string value like below.
The modified Web API Controller class looks like this:
[Route(“api/[controller]”)]
public class ValuesController : Controller
{
// GET: api/values
[HttpGet]
public IEnumerable
{
return new string[] { “Afraz”, “Afreen”, “ASHA”, “KATHER”, “Shanu” };
}
}
}
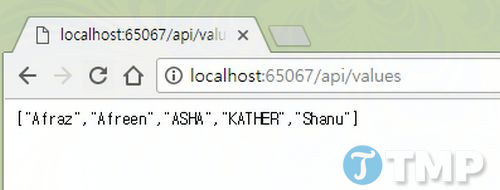
To test the Get method, you can run your project and copy the API path. Here you can see the API path for the Get method as “api/values“.
Run the program and paste the above API path to check the output.
Step 5: Working with Angular
The next step is to work with Angular. First you have to install Angular CLI for your project.
Angular CLI
Angular CLI is a command line interface for building Angular applications using the node.js style (commonJS) module.
To install Angular CLI for your project, open the Visual Studio Command Prompt and navigate to the project folder path.
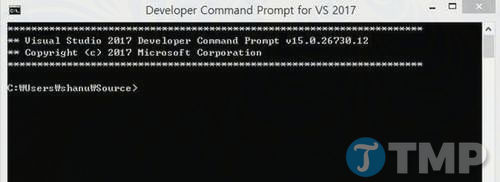
The next step now is to move to the project folder path. If you don’t know the project path for sure, click Project and see properties to check project path.
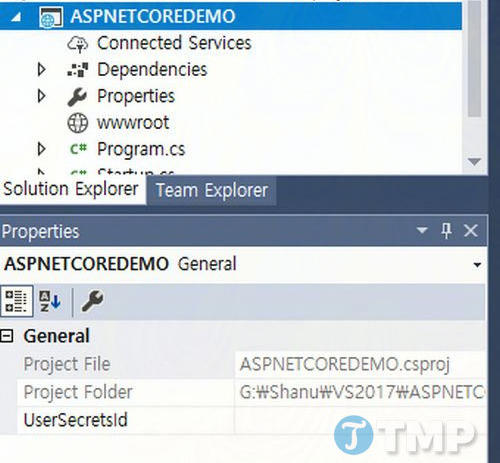
Copy the project folder path. In this example you can see that the project is located in the G: drive. First change the G: drive, then change the project directory.
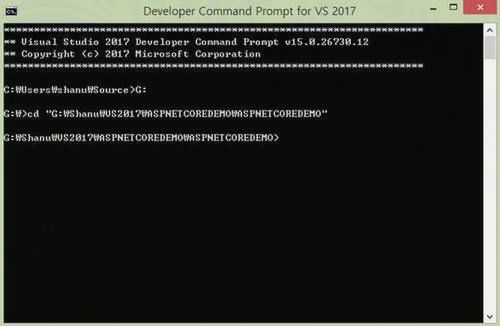
Next install Angular CLI for your project. To install Angular CLI, run the command below:
npm install @angular/cli -global
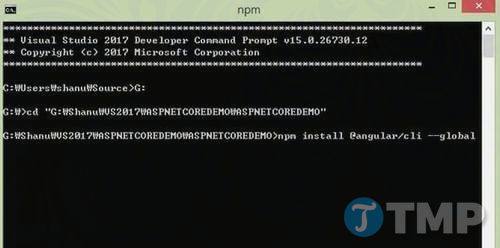
Wait a few seconds for the Angular CLI to install in your project.
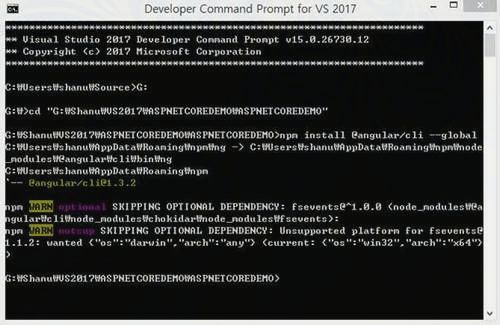
Now run the command below and wait for a few seconds. All Angular files will be added to the project:
ng new ASPNETCOREDEMO –skip-install
Note in the above command replace ASPNETCOREDEMO with your project name.
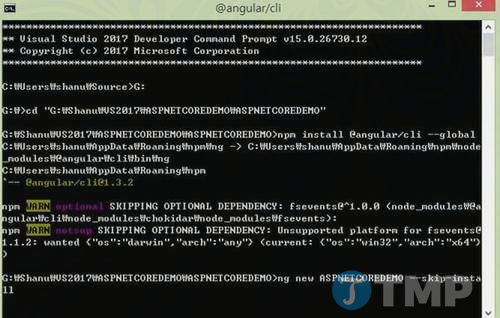
Wait a few seconds until the success message shown below is displayed.
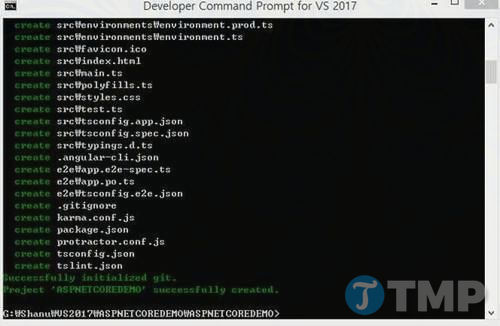
In the project, a new folder will be created with the same name as the project.
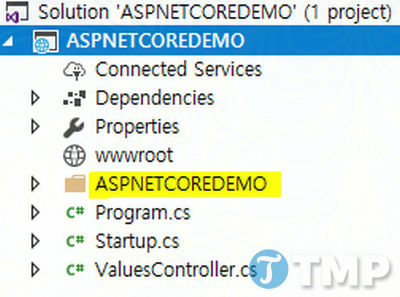
Open that folder and you can see all the generated Angular files inside the folder.
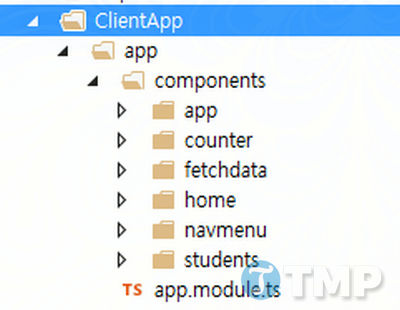
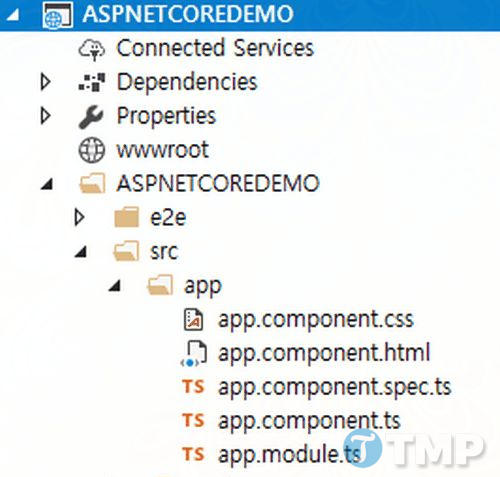
Move all the files to the main project.
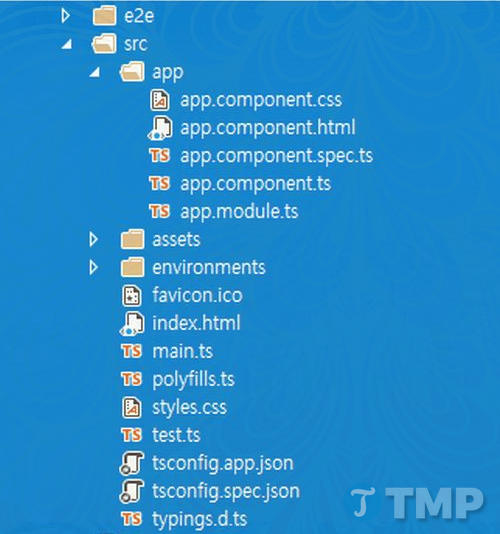
After moving all the files to the main project, proceed to delete the empty folder.
Step 6: Working with Angular files
Working with Angular Modules
Since you need to display Web API results in your Angular application, you will have to import the HTTPmodule in the app.module file.
Open the file app.module.
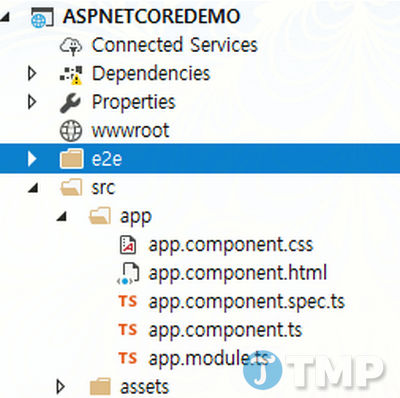
Change it with the following code:
import { BrowserModule } from ‘@angular/platform-browser’;
import { NgModule } from ‘@angular/core’;
import { AppComponent } from ‘./app.component’;
import { FormsModule } from ‘@angular/forms’;
import { HttpModule } from ‘@angular/http’;
@NgModule({
declarations: [
AppComponent
],
imports: [
BrowserModule,
FormsModule,
HttpModule
],
providers: [],
bootstrap: [AppComponent]
})
export class AppModule { }
Working with Angular Components
The next step now is to work with the Angular Component to bind to the Web API and get the JSON result to bind to the HTML file.
Open the Angular Component file and add the following code:
import { Component, OnInit } from ‘@angular/core’;
import { Http } from ‘@angular/http’;
@Component({
selector: ‘app-root’,
templateUrl: ‘./app.component.html’,
styleUrls: [‘./app.component.css’]
})
export class AppComponent implements OnInit {
constructor(private _httpService: Http) { }
title: string = “SHANU”;
apiValues: string[] = [];
ngOnInit() {
this._httpService.get(‘/api/values’).subscribe(values => {
this.apiValues = values.json() as string[];
});
}
}
Working with HTML files
This is the final step of the code. Design the HTML and link the resulting Angular to the app.component.html file.
Edit the HMTL file and change it with the following code:
1>#285783″>Welcome to {{title}} Angular and ASP.NET Core Demo
>
span style=”font-size:14px;”>
/span>
&ble cellpadding=”2″ cellspacing=”2″ class=”table” ngif=”apiValues” sty&le=”background-color:#FFFFFF; border:2px #6D7B8D; padding:5px;width:99%;table-layout:fixed;”>
{{value}}
Step 7: Build and run the application
You first need to install all the Angular dependencies for the application. To install, run the command below in the command prompt:
npm install
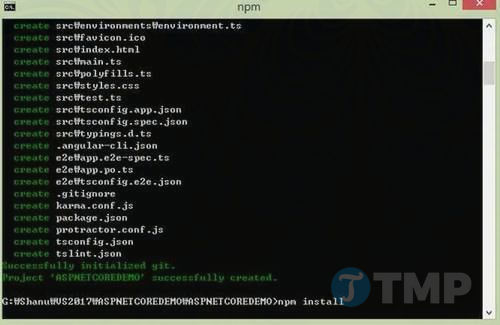
Wait until the NPM installation is complete.
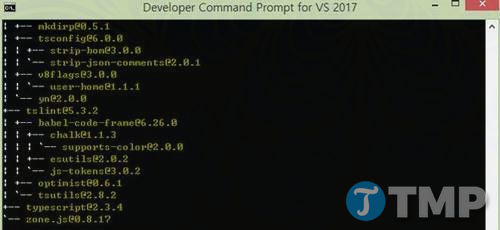
Build apps
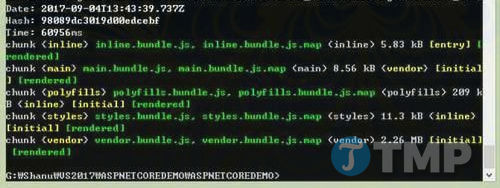
Run the command below to build the application:
ng build
Wait a few seconds until the app build is complete.
Run the app
Type the command below and then press Enter to run the application:
dotnet run
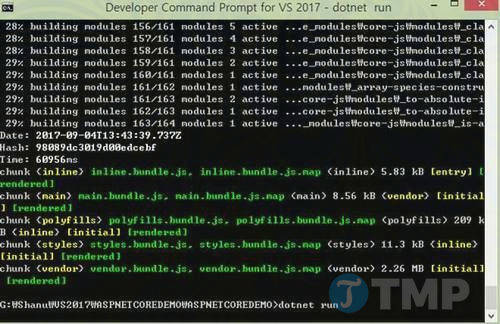
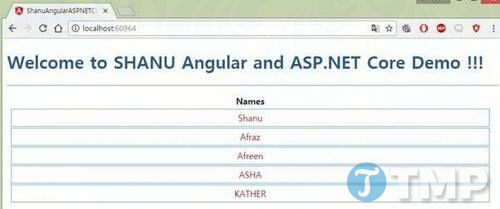
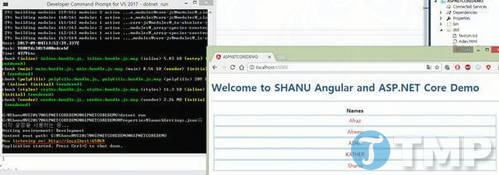
You can see the localhost address to run the application. Type that address into the browser. The Angular application is running and showing the desired output.
https://thuthuat.Emergenceingames.com/lam-quen-voi-asp-net-core-va-angular-4-thong-qua-web-api-27601n.aspx
Above, Emergenceingames.com has just introduced you to ASP.NET Core and Angular 4 through WEB API. Hope this article will be useful to you. If you have any questions, you can leave your comments in the comment section below the article.
Author: Nguyen Thuy Thanh
4.0– 16 evaluate)
Related keywords:
Get familiar with ASP.NET Core and Angular 4 via WEB API
familiarize yourself with ASP.NET Core and Angular 4, WEB API,
Source link: Get familiar with ASP.NET Core and Angular 4 via WEB API
– Emergenceingames.com
