Photoshop is a famous editing and integration application today, thanks to the software you can create unique and interesting photos that very few other software have.

Instructions for Integrating images of smoke and fire into buildings using Photoshop
Prepare:
– Download and install Photoshop on your computer
– Old building photo, fire photo on black background and smoke column photo
Step 1: Find the image source. To successfully integrate photos, you must find the right photos. Finding images seems simple but is quite important, because not all photos can be combined. Only when you find the right photo, the job of collage becomes easier.
Here we need to find a photo of an old, slightly dilapidated building, a photo of a fire on a black background and a photo of a column of smoke.
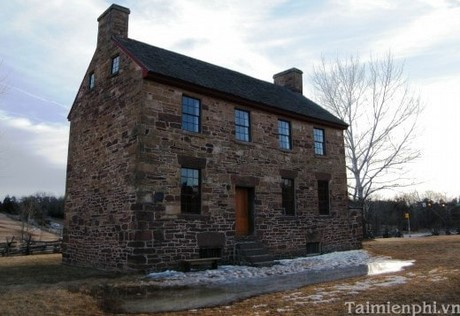
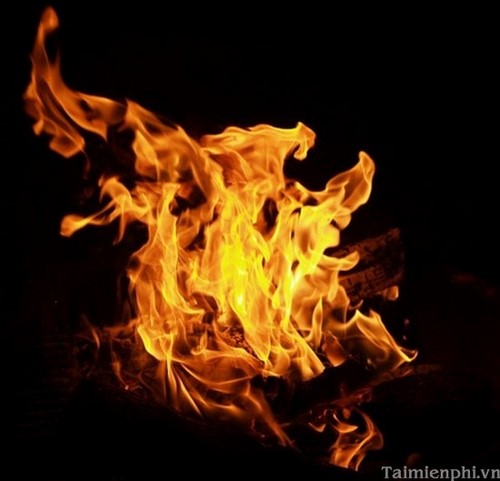
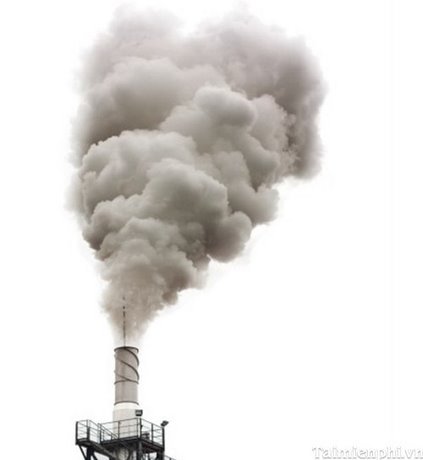
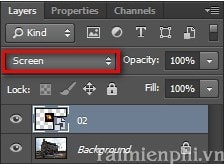
Step 2: Open the photo of the building and the fire in Photoshop. Switch the flame photo to Screen in Blending Mode.
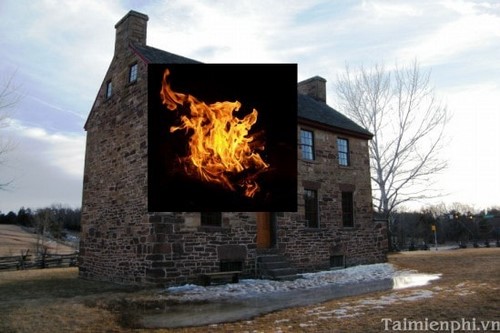
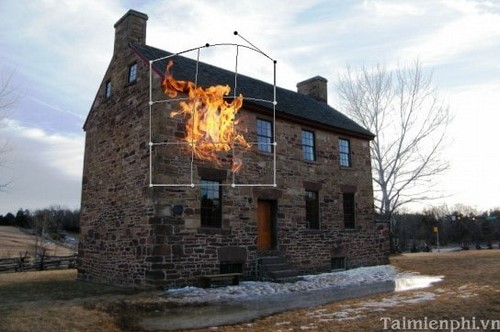
Move it to the appropriate position and enter Edit/Transform/Warp… to adjust the flame select accordingly.
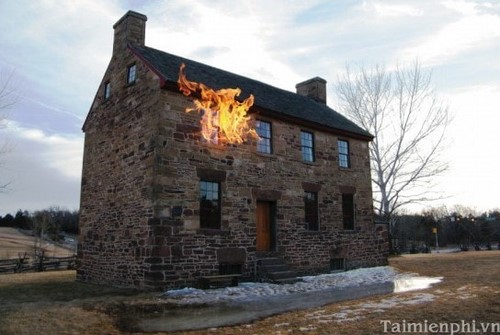
We get the following:
Step 3: Open the image of the smoke column, adjust the size (press Ctrl + T) and place it in the appropriate location. (Note to put the smoke layer in the middle fire layer and background)
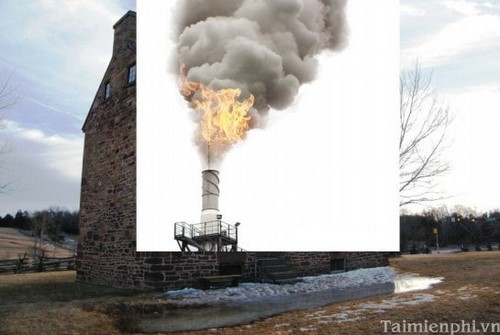
Then enter Layer/Layer Mark/Hide All to hide it then use Brush (B) Soft brush paint on white mark.
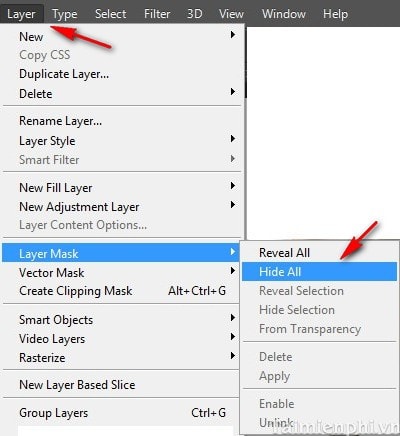
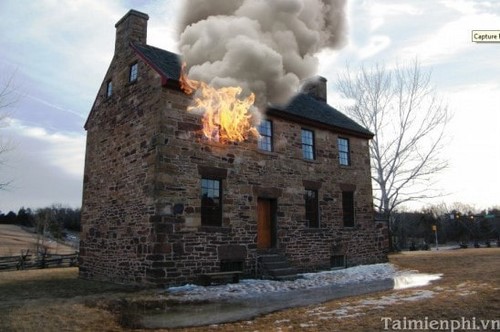
Step 4: In this step we will make some dark spots for the flame. Press Ctrl + J to duplicate the flame layer. Enter Image/Adjustments/Desaturatethen enter Image/Adjustments/Invert… we get the following:
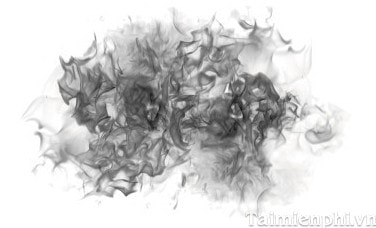
Finally, switch this layer to Multiplyin Blending Mode, reduce Opacity down to 80% , adjust the size (Ctrl + T) and then move to the appropriate position.
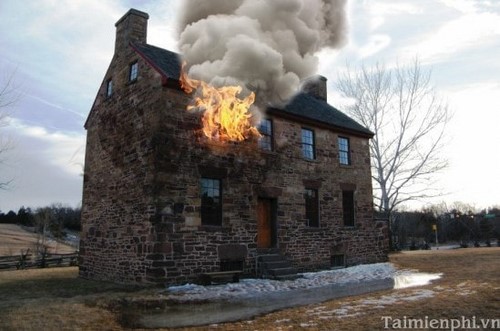
Step 5: The picture is almost complete. We just need to adjust the color of the surrounding space to make the photo look more realistic. To do this, we click on the top layer and go to Layer/ New Adjustments Layer/ Gradient Map and press OK.
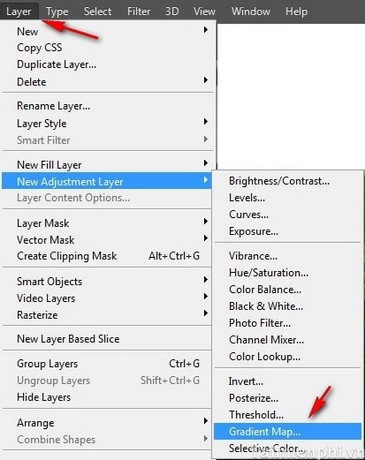
Double click on the newly created layer and set the following settings:
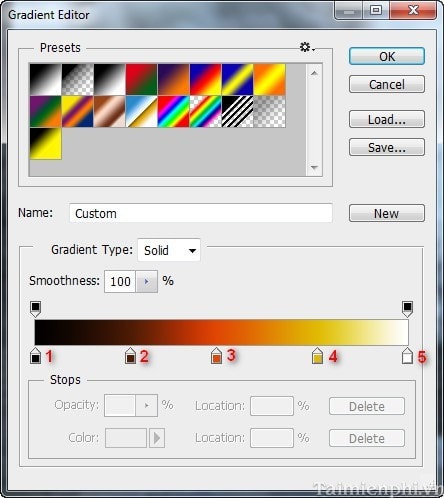
Color 1: #000000
Color 2: #4f1b04
Color 3: #e04704
Color 4: #e0b904
Color 5:#ffffff
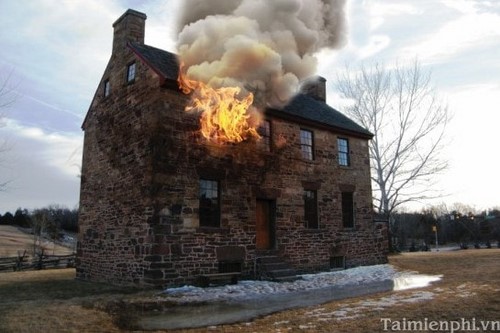
Click on the mark created with the Gradient Map and press Ctrl + I to be reversed mark. Then use Brush (B) with Opacity 5% to delete mark in several places to create an orange tint in the image. We get the following result:
https://thuthuat.Emergenceingames.com/long-ghep-hinh-anh-khoi-lua-vao-toa-nha-bang-photoshop-1896n.aspx
Within the limits of the above article, we have worked with you to integrate images of smoke and fire into the building with Photoshop, so that you can own unique photos created by your own hands. In addition, you can refer to the articles: How to tattoo art with Adobe Photoshop, Create a melted fire text effect, ….
Author: Nguyen Canh Nam
4.0– 19 evaluate)
Related keywords:
put a picture of smoke and fire in the building
integrating the image of smoke and fire, merging the image of smoke and fire into the building,
Source link: Photoshop – Integrating the image of smoke and fire into the building
– Emergenceingames.com
