With the way create transparent background images with Paint.NET In this article, I will introduce to you a way to separate the wallpaper quite nicely, in addition, you can use the creation of transparent background images with Paint.NET to apply it to creating icons for software or other applications. folder.

Compared to how to separate the background in an image with Photoshop, creating a transparent background image with Paint.NET is much simpler, in addition, Paint.NET software is quite light, if you are afraid to separate the background with Photoshop, you can follow the instructions. Here’s how to create a transparent background image with Paint.NET.
Instructions for creating transparent background images with Paint.NET
Step 1: The first job is very familiar, to be able to create transparent background images with Paint.NET you need to download Paint.NET to the computer first if not already.
Step 2: After downloading Paint.NET to your computer is complete, proceed to extract Paint.NET with winrar or any other decompression tool you have.
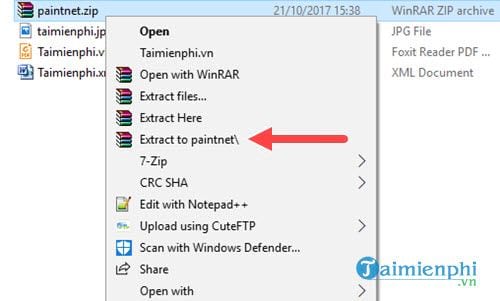
Step 3: After extracting is complete, double-click the software to install and select Custom to customize the installation of Paint.NET.
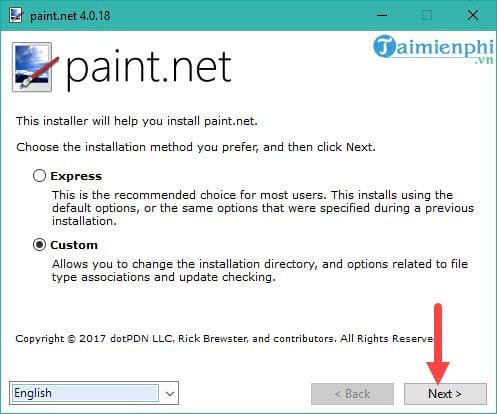
Step 4: Agree to the terms of the Paint.NET software to install.
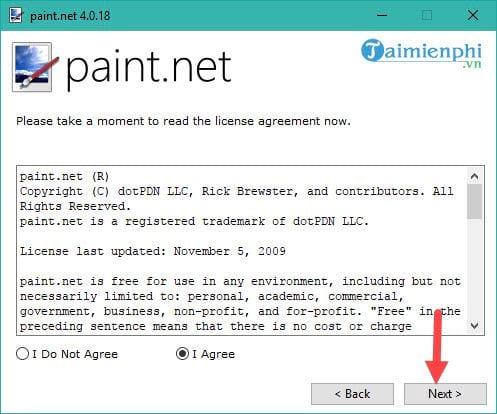
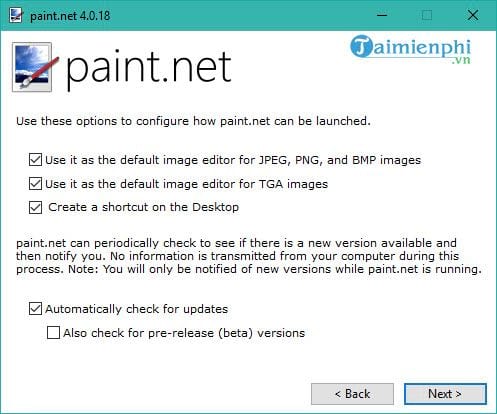
Step 5: Next is the setting to open the default software for JPEG, PNG or BMP format. However, this is not very important and you can click Next immediately.
Step 6: The last job before installation is to choose the path for the software, after selecting it, press next until the Paint.NET installation is complete.
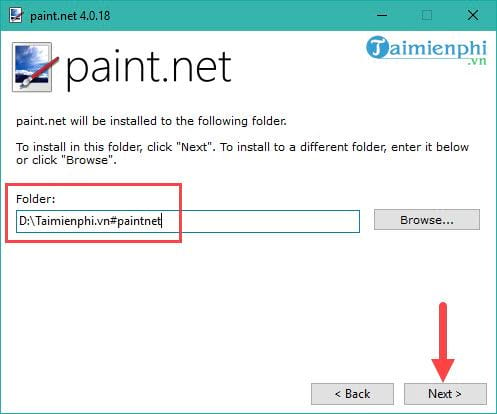
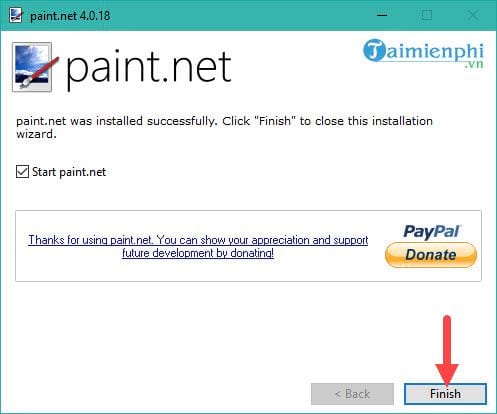
After installing, remember to tick Start Paint.NET and click finish to open the software and use it right away.
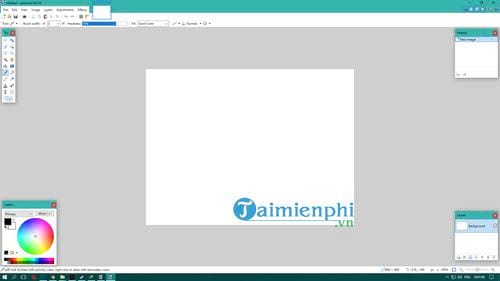
Step 7: Immediately you see the software interface appear, now let’s start creating a transparent background image with Paint.NET.
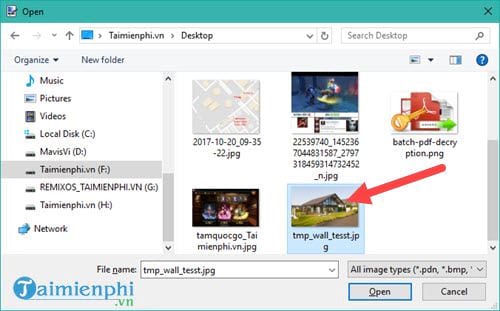
Step 8: Press the key combination Ctrl + O and select the image you want to use to create a transparent background image with Paint.NET.
Step 9: Next you choose lasso tool (shortcut S) to proceed to create a transparent background image with Paint.NET.
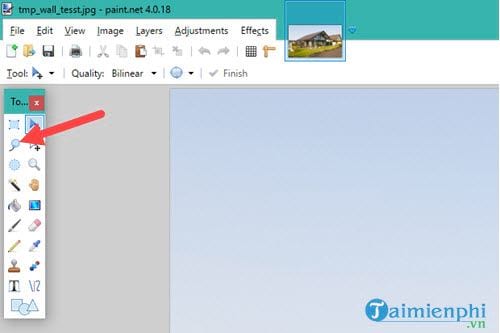
Step 10: You use the mouse to drag on the points you want to keep as shown below, the rest will be blurred or deleted.
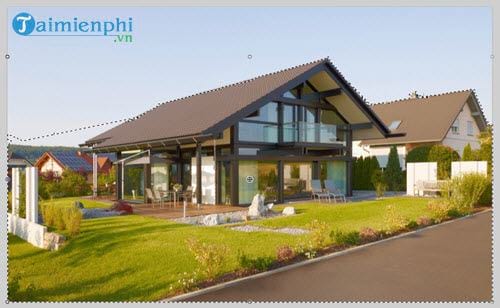
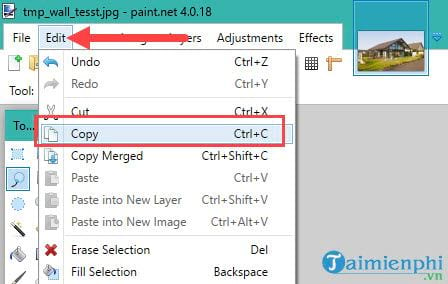
Step 11: Next you click Edit and choose Copy (or Ctrl + C) to copy the segment you just zoned.
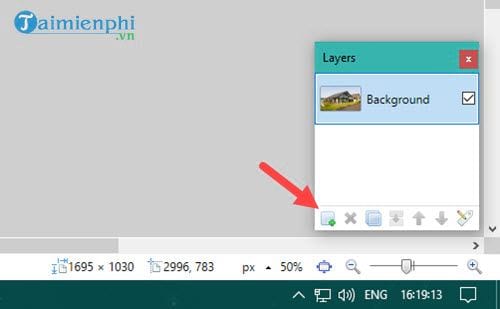
Step 12: Right after that, you look down at the layer section, click the plus sign to create a new layer and then press the key combination Ctrl + DRAW to paste it in a new layer.
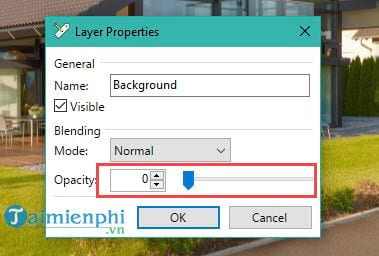
Step 13: Still at that old layer, you double click and then Set Opacity to 0 as shown below.
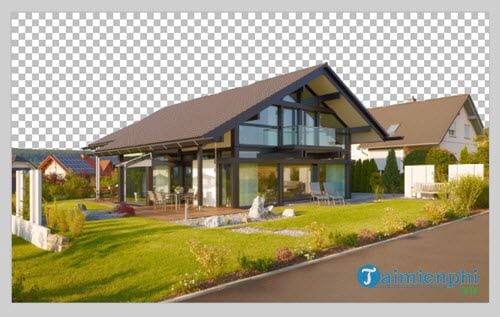
Finally you will get the image below, creating a transparent background image with Paint.NET has been completed and now we proceed to save this file format.
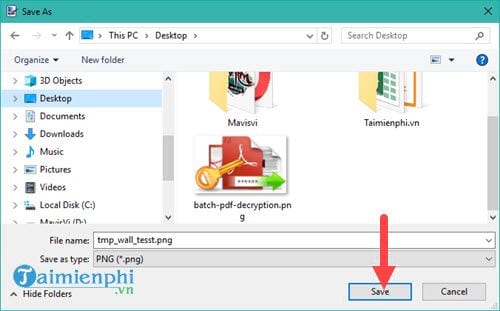
Step 14: If you want to save a transparent image like creating a transparent background image with Paint.NET that we have just conducted, you must choose PNG format, if JPG or BMP will be defaulted to a white background.
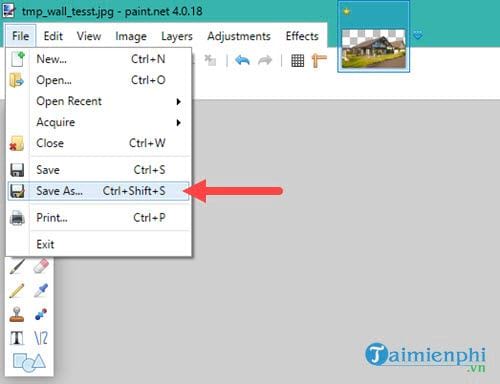
Click File on the menu bar then select Save As.
Then you select the Save as type PNG section and you can save the file with the image so it’s transparent.
https://thuthuat.Emergenceingames.com/cach-tao-anh-nen-trong-suot-bang-paint-net-24939n.aspx
Above is how to create a transparent background image with Paint.NET, hopefully through the above article readers will update themselves with a way to separate objects and delete backgounds. Although Paint.NET is good and easy to use software, Photoshop is also something that you cannot ignore. Therefore, using Photoshop to handle photo problems is very necessary. But first, please refer to Photoshop shortcuts to understand more about the tools in this software, knowing Photoshop shortcuts first will help you get used to this software a lot more.
Related keywords:
I’m in the state of paint.net
I’m in the backgournd, I’m in the morning,
Source link: How to create a transparent background image with Paint.NET
– Emergenceingames.com
